Creating an Instagram account for your business, organisation, or brand is quick and easy. Using Instagram for business is a bit different to using it personally – business accounts allow you access analytics about your followers and posts, offer a more professional looking profile, and allow you to promote your Instagram posts as ads. Ready to get going? Let’s walk you through how to use Instagram.
A beginners guide to create an Instagram account
 by Amy Rountree
Step 1: Setting up an Instagram account
To get started you will need to download the Instagram app to your phone or head to 'instagram.com' on a desktop.
Select ‘ Sign up’ and use your email address or choose to register by signing in with Facebook.
If you register with an email address, click Sign up. If you register with Facebook, you'll be prompted to log in to your Facebook account.
When you create an Instagram account you can switch it easily to a business account. Doing so gives you a few more features like being able to list the type of business you are, make the products or services in your images shoppable, create an Instagram shop, and advertise. Instagram shows you how to make your account a business account in a few quick steps.
Head to your Instagram profile and tap  in the top right-hand corner.
Tap  Settings. For some accounts, the Switch to professional account option will be listed directly under Settings. But if not, tap Account.
Tap Switch to professional account.
Already confused? Watch our video tutorial to see the steps to setting up an Instagram account in action.

'How to create an Instagram account for your business’
Step 2: Adding your Instagram bio
Your Instagram bio is a description of your business. It’s one of the first things people will see when they visit your profile. It's a chance for you to show why people should follow you. Here's how to create a bio that will encourage users to follow you and explore your content further.
- Headline
Use keywords to describe your organisation. This is what Instagram looks at when someone searches for a specific topic. The headline is defaulted to your brand name, but you can edit it. - The body
Tell your followers what value they will get from your account. It could be helpful tips, event news, or even new product updates. - Add a personal touch
Let your personality shine through - do you support a charity or are you well known for supporting a certain scene in your industry or area? - A link
This is important - this is the only place you can feature a clickable link on Instagram to drive traffic to your website or online store.
Here’s our video tutorial loaded with tips on how to write a killer Instagram bio

Once you've got your Instagram account set up you'll want a killer bio to introduce yourself to the world. See how it's done!
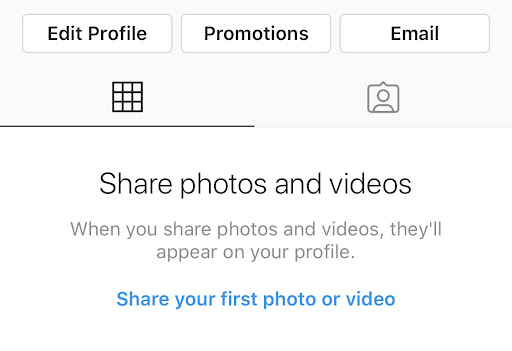
Step 3: How to post on Instagram
Now that you’ve set up your business Instagram account, it’s time to create your first post! Here we’ll take you through the steps of uploading your first post to your Instagram grid. Your Instagram grid is the view of images on your Instagram profile, arranged in rows of three tiles.
We’ll show you how to post to Instagram using the mobile app, and how to post from a desktop.
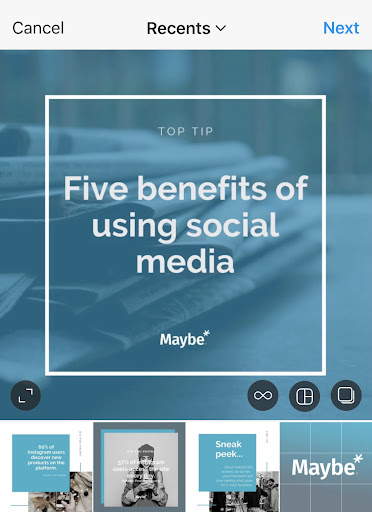
Creating Instagram posts with images and videos
To start, Tap the ‘+’ icon at the top of your screen, select post, then choose the image you want to use from the menu that appears.
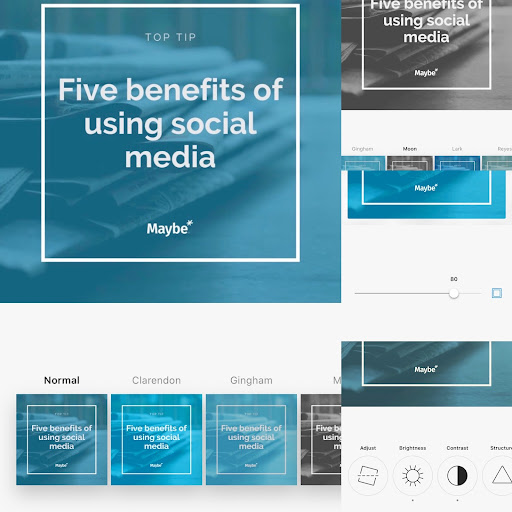
Instagram also has an editing suite built in, with a number of filters available. You can opt for a filter if you so choose, and reduce the strength of the filter by double clicking on the filter name. Additionally in the ‘edit’ section you can brighten, adjust, crop, sharpen etc, all to make your photo look its best. Once you have used an edit button, a small dot will appear beneath the icon, to remind you that you’ve used it.

Finally, the ‘Lux’ function; at the top of the screen. You can use this to soften or sharpen your image. Instagram tip - most people opt for the Lux enhancement function as a final edit before posting.
Advanced Instagram tips: wondering what the best sizes for Instagram posts and videos are?
Instagram images should be in the following formats: JPEG, PNG, JPG, GIF. Files should be less than 8MB.
If you are posting a square image the optimum size and Instagram dimension is 450x450 pixels , if you're posting in landscape (horizontally) 450x250 pixels, and in portrait - 360x450 pixels.
If you are posting a video to your Instagram grid then your files should be in MP4, MOV, M4V format. The file size of your vids need to be less than 50MB and they should be 3- 60 seconds long.
Adding a caption to your Instagram post
Pithy captions are great Instagram fodder, as long as they suit your tone of voice. The same goes for emojis; they can add to a caption, as long as they are appropriately used. Make sure that your captions are spelled correctly, use proper grammar, and fit your branding guidelines!
Adding hashtags to your Instagram post
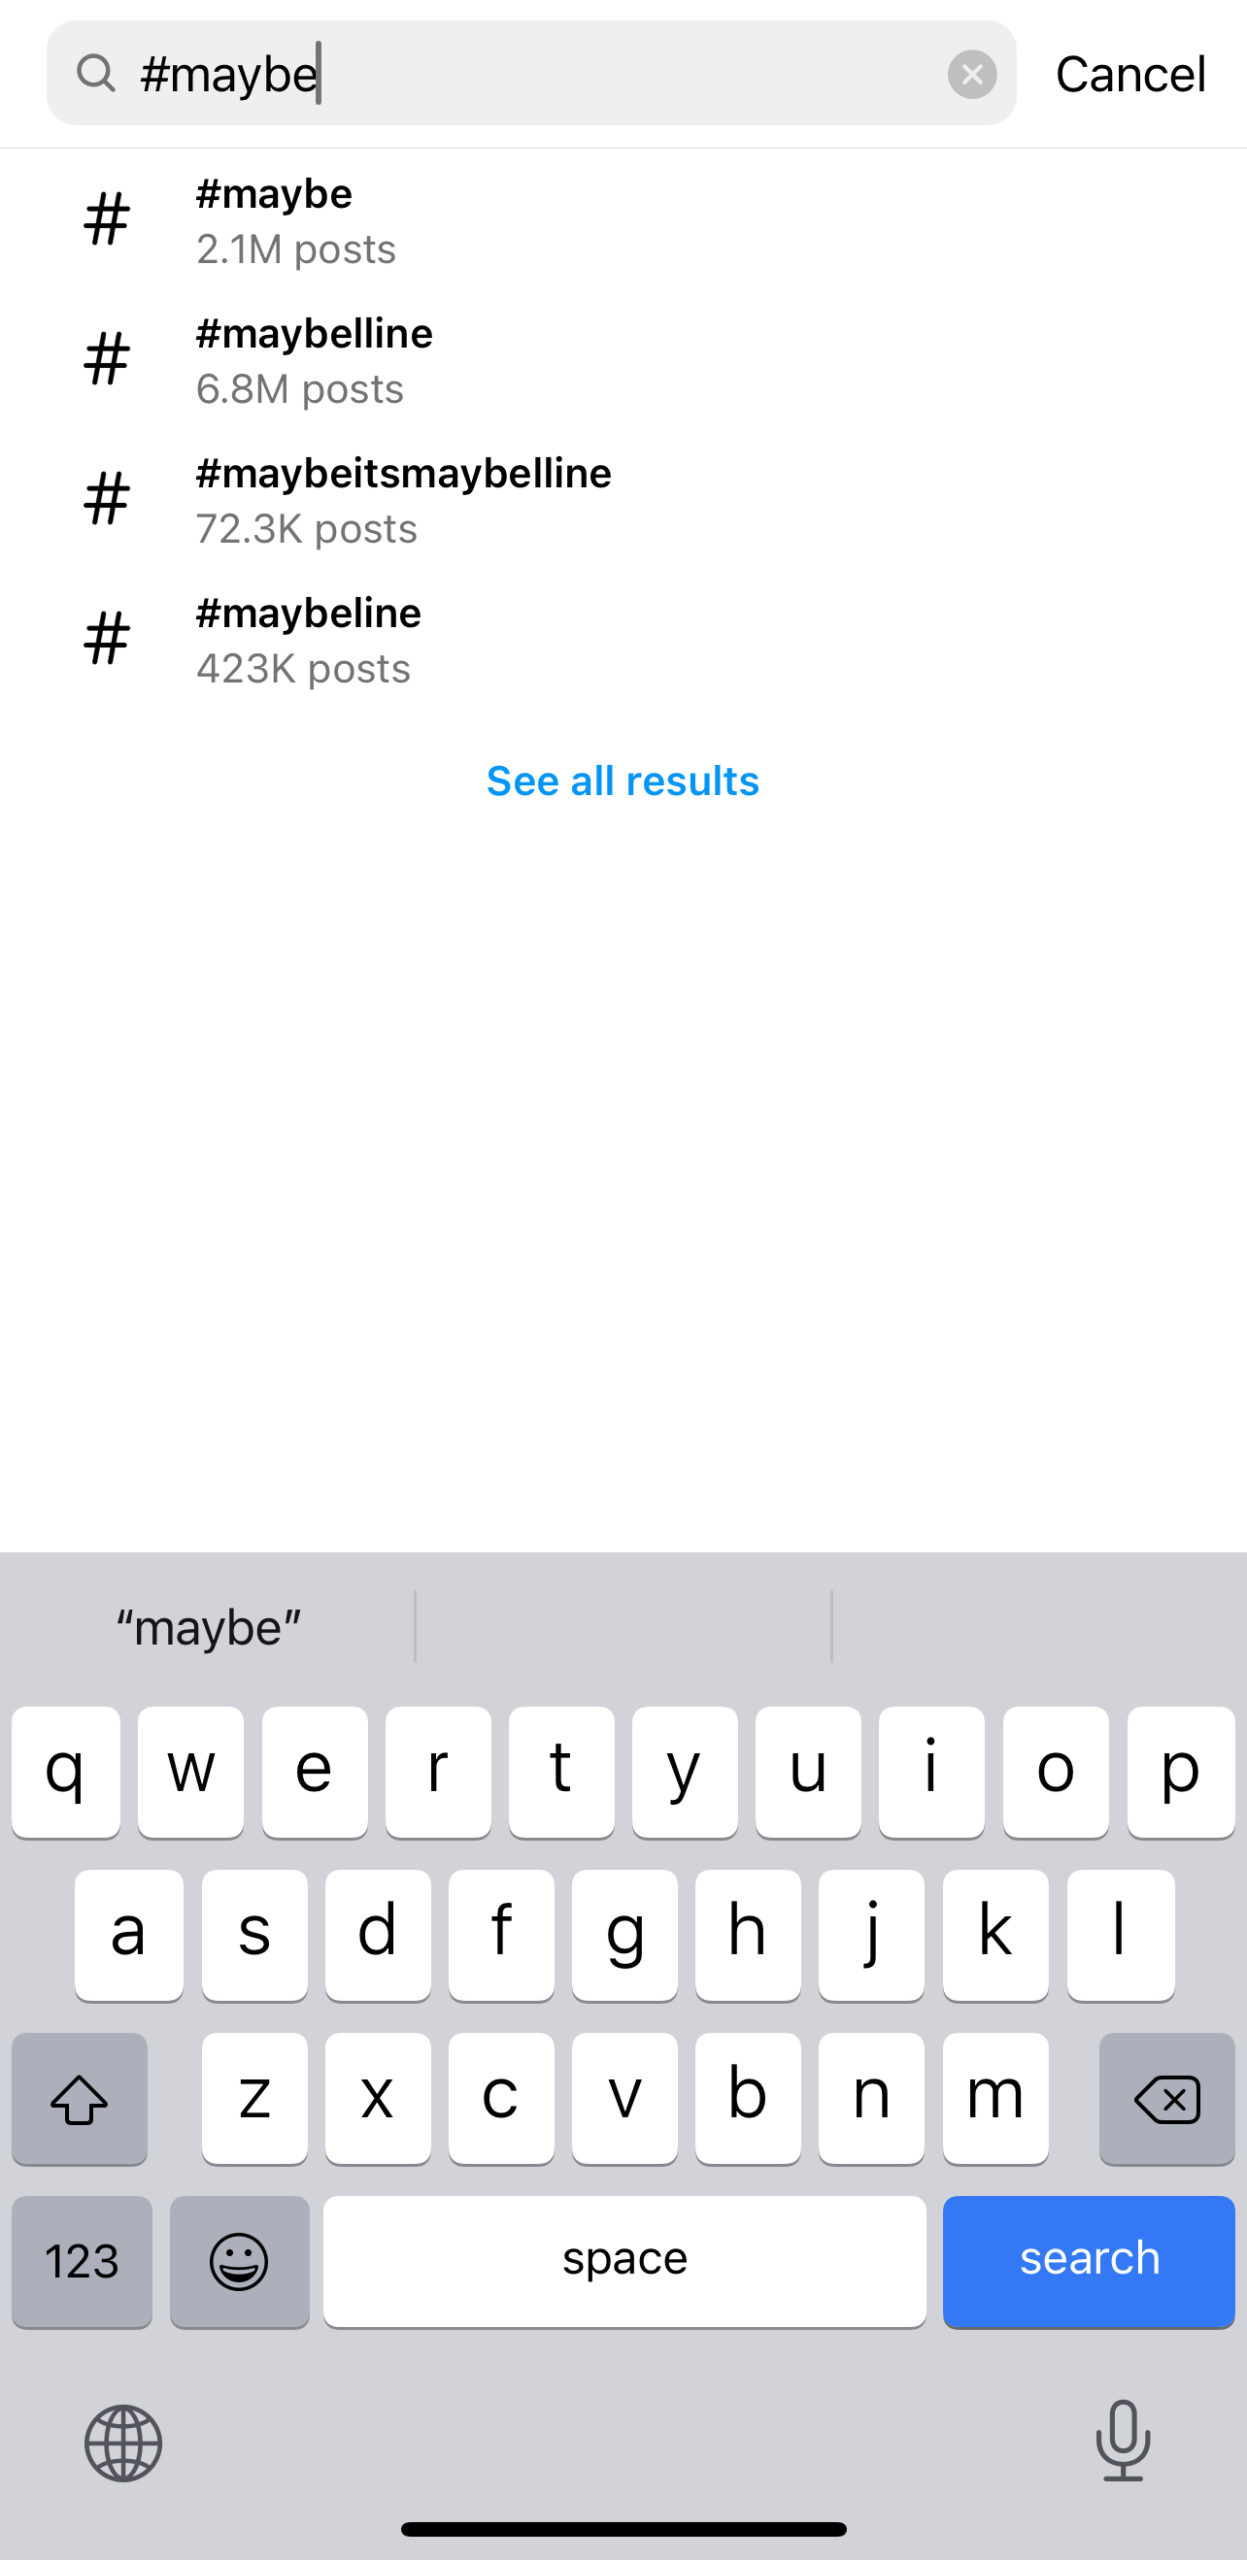
Did you know that you can use up to 30 hashtags per post on Instagram? Ideally, it’s best to go for a good mix of hashtags, as you will want to attract followers based on the context of your grid post, as well as your organisation overall.
We would also suggest researching hashtags to ensure that you have a mix of sizes (by this we mean the number of times each hashtag has been used). The more popular a hashtag, the more posts are attached to it, so the likelihood of yours being seen is smaller.
Use ‘big’ and ‘small’ hashtags in each post, and regularly review them to make sure that your posts are being seen by the right people (your target audience). You can do this by searching Instagram for a hashtag. Use the magnifying glass icon which is the second option across the bottom of your phone screen. Instagram tip - keep hashtags you want to use on a note on your phone. That way it’s easy to copy them across.
Extra Instagram tagging features
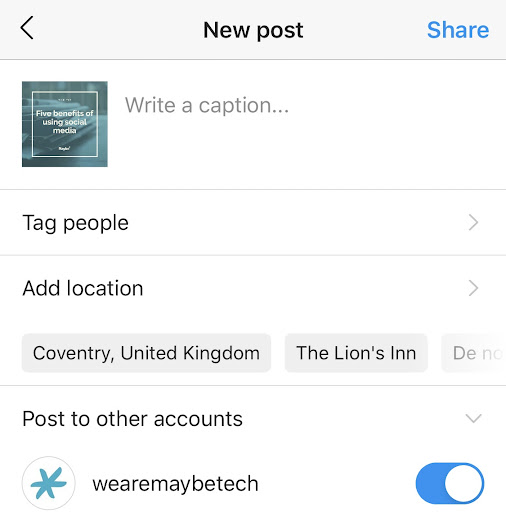
When you post to Instagram, you can tag in other accounts or your location. Tagging another Instagram account is a great option if you have collaborated with someone to create the image or are partnering with another business. Tap to add an account to your post, and they will receive a notification once your image has been posted.
Adding your location (either the location of your business or the location within the post) will help more people to find you and your content.
All that’s left to do now is hit that post button... And that’s it! Before long you’ll have a beautiful grid to feel proud of.
Posting to Instagram on a computer
Posting to Instagram using a desktop is a little bit different. Go to instagram.com and sign in to your account. Click the plus symbol in the top right corner of the screen (it’s the same button you would use to create a post in the mobile app). A 'Create new post' window will appear. Drag photo or video files into the popup window, or click ‘Select from computer’ to choose the image you want to use. If you want to create a carousel post (a post with multiple images), you can select up to ten files.
Click the frame icon in the bottom left to change the ratio of your image or video. You can also use the zoom feature (that’s the magnifying glass in the bottom left) to edit your image. When you’re happy with it, click ‘Next’ in the top right. Now you can apply filters, add a caption and hashtags in exactly the same way you do on a phone.
Step 4: Managing Instagram comments
Hopefully your awesome posts will generate a lot of comments. To respond to a comment someone else has made on one of your Instagram posts, swipe left on the comment and tap the speech bubble. At times you might want to delete an Instagram comment. To delete a comment someone else has made on one of your Instagram posts, swipe left on the comment. Tap the red trash can.
Maybe* can help you manage your Instagram comments as well as your comments and mentions from Facebook and Twitter.
Step 5: Experiment with Instagram Stories and Instagram Reels
Instagram stories are a quick and fun way to stay in touch with your followers. Stories only last for 24 hours on your profile and come with a wide range of fun features including filters and stickers you can add to the post. They will not appear on your Instagram grid and are always in portrait (vertical) format. To create a Story from the Instagram app, tap the '+' on the top right and select ‘Story’.
Ready to give Instagram Stories a try? See how to create an Instagram Story

See how to get going with Instagram Stories including tips and tricks for adding links, location, tags and a sprinkling of emojis.
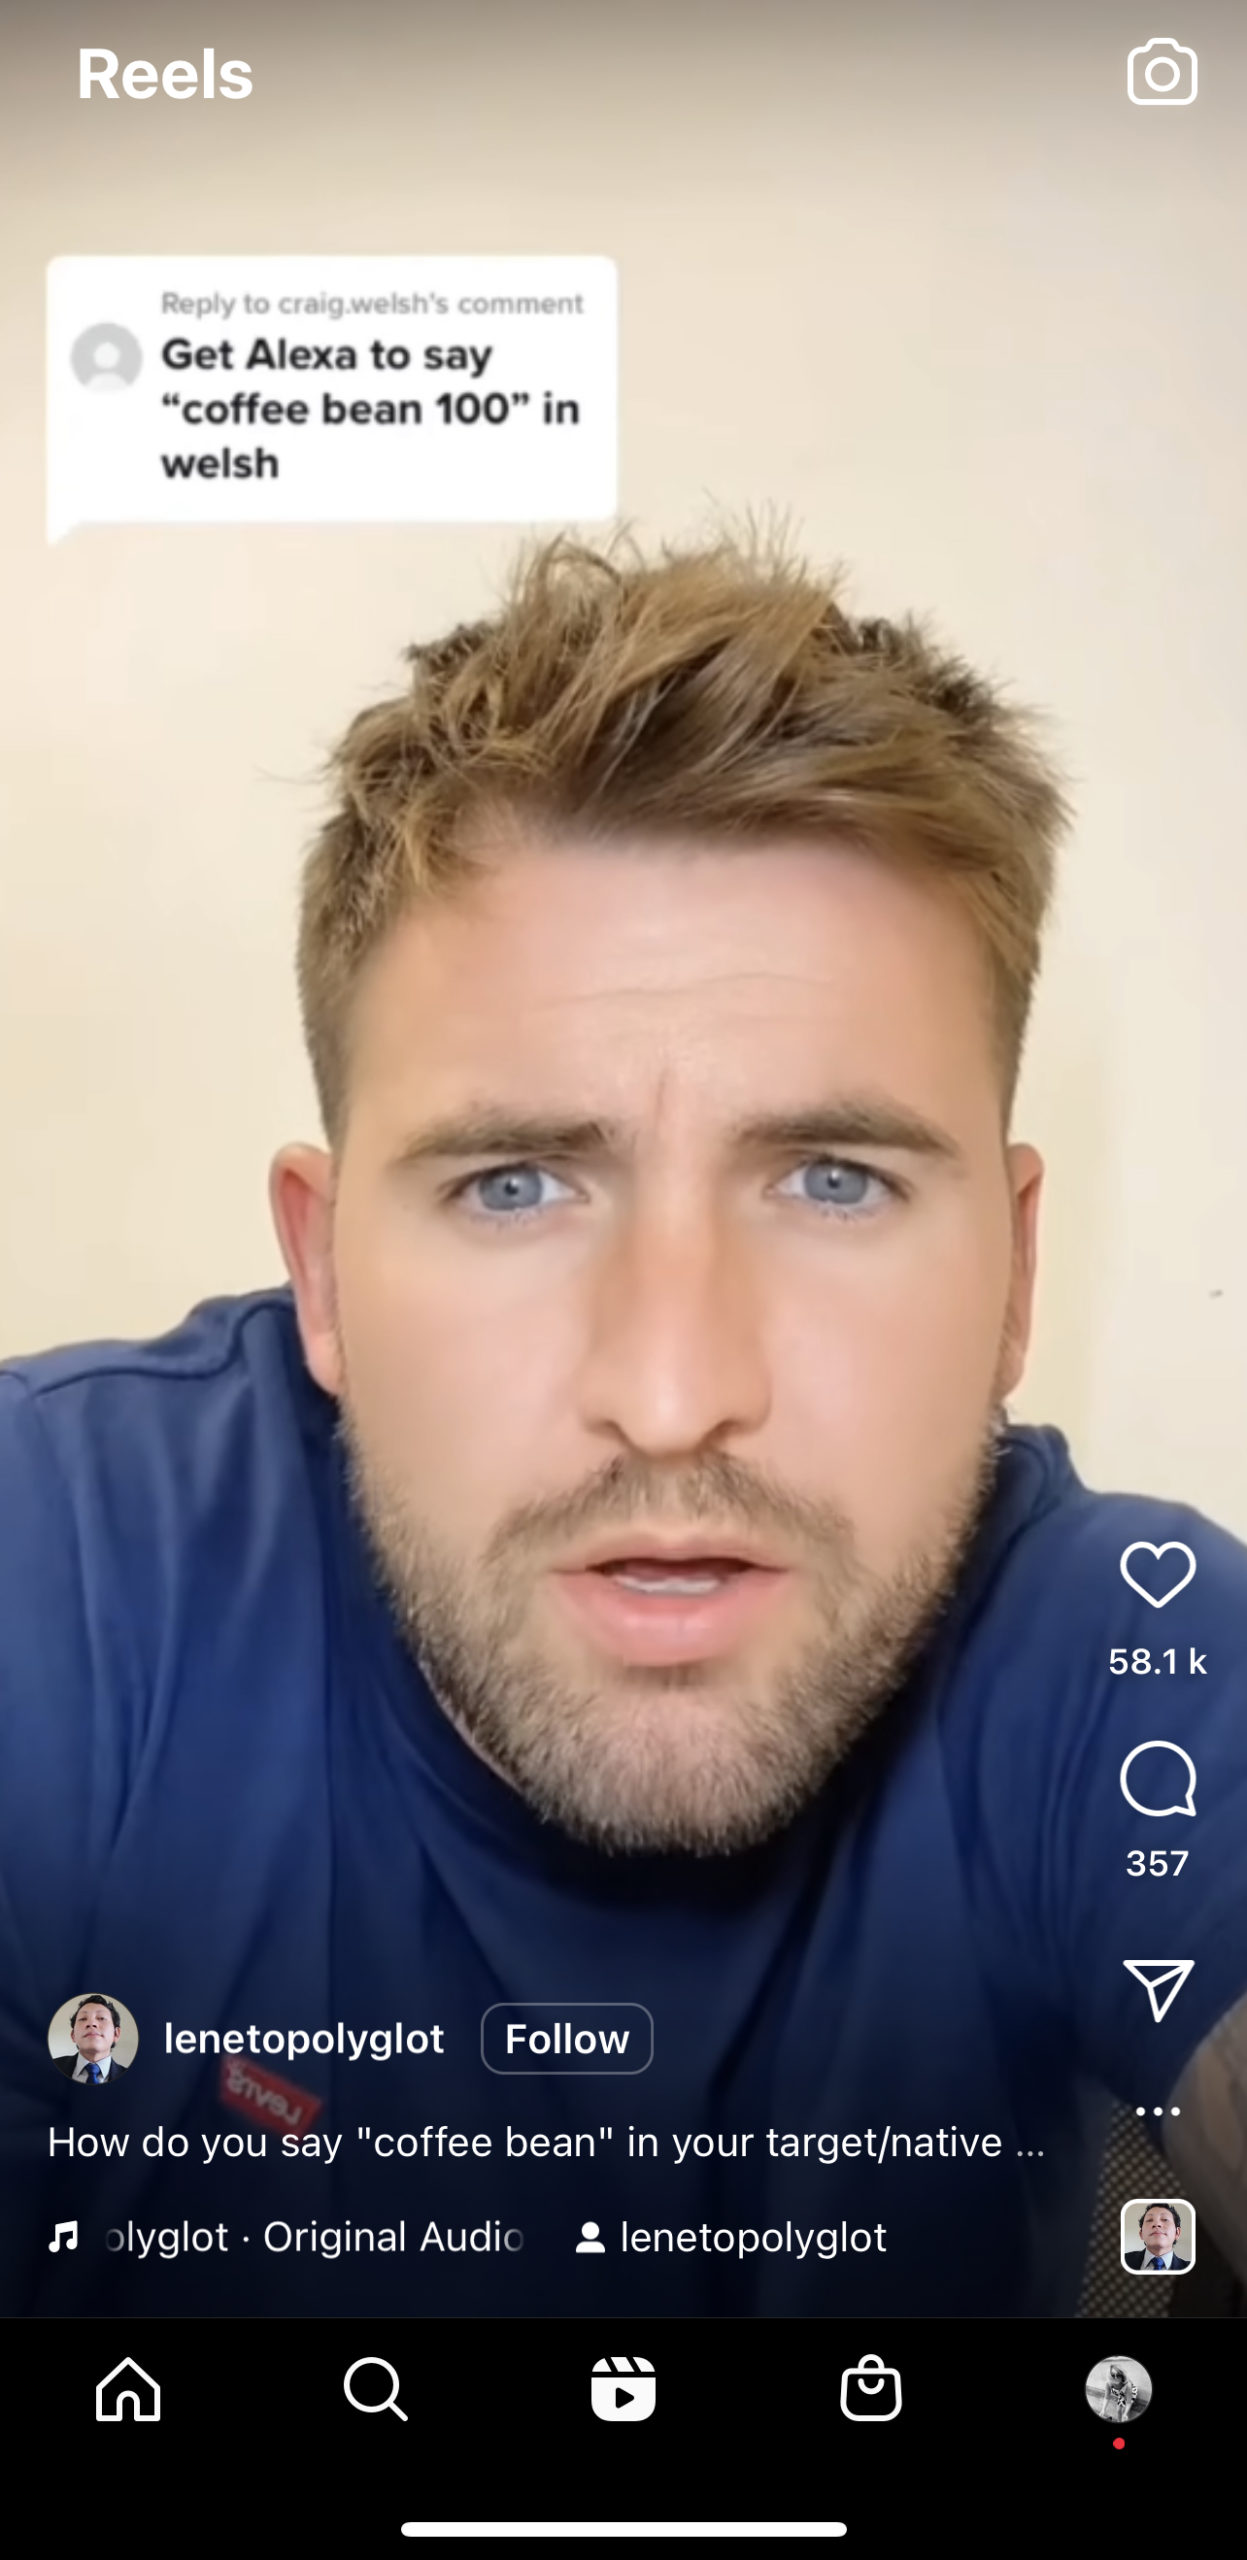
Instagram Reels are short, portrait videos that can be up to 90 seconds long. You can record and edit together video and photo clips, add music and share them to your grid, to your Stories and the Reels explore page. To create a Reel from the Instagram app, tap the '+' on the top right and select ‘Reels’.
Stories disappear after 24 hours and can only be seen by your followers. Reels can live permanently on your Grid and are viewable by anyone when added to the ‘Reels Explore’ feature which you’ll find at the bottom of your phone screen by tapping on the third option that looks like a clapperboard icon.
See how to create an Instagram Reel
You've set up your Instagram account and you've got to grips with your grid. Now let's take it up a notch with Instagram Reels.
Step 6: How to share on Instagram
Sharing Instagram posts is a great way of bringing a wider range of content to your followers, as well as helping to shine a light on other businesses. Sharing on social media is an opportunity to improve the visibility of ourselves and others, and provide a wider range of content for your customer base. To share a post on Instagram you can opt to share a post to your Stories.
To share a post as an Instagram Story look at the bottom of the post you’d like to share. There are three icons: the heart to ‘like’ a post, the speech bubble to post a comment, and an arrow that looks a little like a paper aeroplane, to share the post.
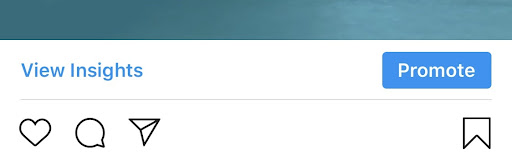
Tap on the arrow, and a small screen will pop up, inviting you to either add the post to your Story, or to send the post via direct message to one of your followers (Instagram will pull up a small list of suggested accounts but you can use the search bar at the top of the pop-up window to find the account you need).
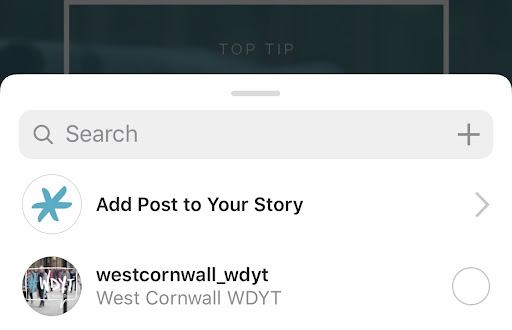
To share the post to your Stories, tap on ‘Add Post to Your Story’, and a new Story will immediately open up.
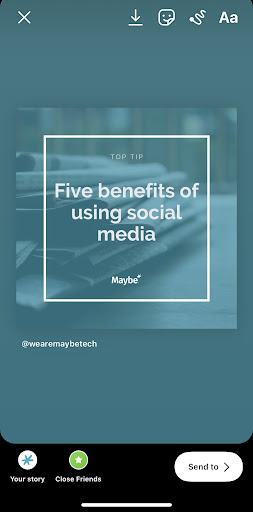
From here, you can add a caption, tag in relevant accounts, add gifs, hashtags and more. You also have the option of sending the post as a direct message from this screen as well. To post your Story, select the ‘Your story’ button on the bottom left.
How can Maybe* help?
When you sign up to Maybe* we ask you to connect your social media accounts. To be able to use Maybe* your Instagram account must be a Business account. You can not use a personal account with Maybe*.
Once you’ve created an Instagram Business account you can use Maybe* to schedule all your Instagram posts, along with Facebook and Twitter from one place. The Maybe* Content calendar shows you all the content you have scheduled in one place, enables you to create Instagram posts including Instagram Reels, and compare your content to any competitor.

Save time by planning ahead. Schedule Instagram posts and view all your social media content across Facebook, Twitter and Instagram using our social media content calendar.
Need more help?
Every Tuesday at 10am our social media managers host a ‘Getting started with social media’ training session. So if you’re starting out as a complete novice we have you covered. No matter where you are with social media, this session will give you the confidence to get more from social media for your business.


Recent posts

Social media news roundup 23rd October – Instagram’s spicing up comments with polls, Facebook Pages hitting the airwaves, and more
Step right up and ride the digital carousel with us 🎠 As the wheels of the social media funfair whirl and twirl, platforms are aimin...

Don’t miss out on the ultimate guide to daily hashtags for social media success
Daily hashtags are a great source of content inspiration and a super way to increase your social media reach Daily hashtags are a ...